Here are some examples of what can be done with these:
- Set Divisor to 3 to convert Feet into Yards.
- Set Multiplier to 10 to convert length of 10 foot high wall into Sq.
Feet of wall.
- Set Divisor to 40 to convert Sq. Feet of wall into sheets of 4 x 10
sheet rock.
- Multiply by inches of slab thickness, divide by 12 and divide by 27
to convert Sq. Feet into Cubic Yards.
- Set Multiplier to Pitch Factor (eg. 1.2) to convert Sq. Feet
straight down into Sq. Feet of roof.
- Set Divisor to 100 to convert Sq. Feet into squares of roofing
material.
- Use -1 to create deduct item.
- Set Addend, of a non-zero measurement, to add a fixed number (eg. to
account for waste).
- Set Addend, of a zero measurement, to add a fixed number, to account
for a parameter that isn't associated with a measurement (eg. equipment
rental).
Please do not use this list as a reference. The values above are not
guaranteed. They are given to illustrate the flexibility of this system
and to spur your imagination. Many other transformations may be
accomplished with these modifiers.
The Addend field is a very useful tool, as it allows you to account for
all aspects of the bid, even if there is nothing that needs to be
quantified from the drawing. It allows you to include rentals and fees as
part of your Item Summary, so the list you take out of
QuickEye
Estimator is ready to price and no excess tweaking will be necessary.
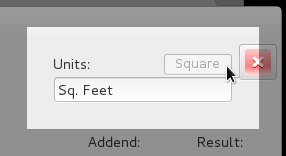
Output Units:
Make sure that you modify the Output Units appropriately whenever you
enter a modifier. If the modifiers convert a length or area to a count of
items, change the output units to Each or the name of the item (Squares,
Yards, Studs, etc.) If a length or count is being converted into Square
Feet, simply press Square to turn this Feet into Sq. Feet.
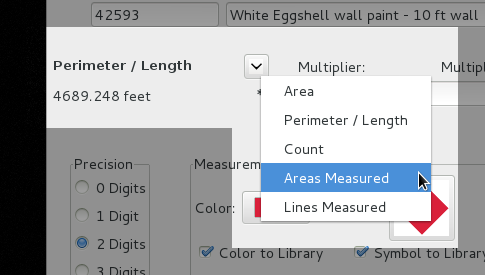
 Input Quantity:
To change the input Quantity, use the drop down menu to the right of the
Summed Quantity to select a different one. This can help you build your
Quick-Library by saving multiple entries without leaving the Create Item
dialog.
 Precision and Rounding:
The other tools, provided to tailor the output result, are a Precision
selection and a "Round Up" check box. The Precision selection controls
the number of digits beyond the decimal point that the output displays.
The decimal number of the input, after the modifiers are applied, is
rounded up or down to the specified precision. Setting the Precision to
zero results in the value being rounded up or down to the nearest whole
number. With any setting of precision, the standard "round to nearest"
mathematical method is used.
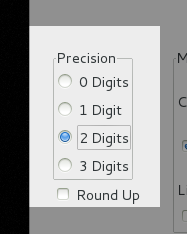
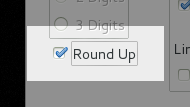
The "Round Up" checkbox, if checked, will override the Precision
selection and round up to the next higher whole number (never rounds
down).
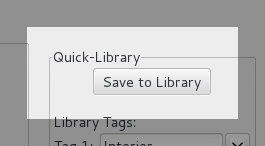
 Building your Quick-Library:
The "Save to Library" button will create an entry in your Quick-Library,
for use later when recreating this item. This is optional and it is
recommended that you create a few items first and see how they work on
the Item Summary before commencing with the library building. After you
are confident that all is well, you can revisit these items and press the
"Save to Library" button for each.
 Measurement Attributes:
The Measurement Group attributes: Color, Symbol and Line-Width, are a
second place to adjust the attributes for the current Measurement Group
(the primary place is on "Item Creator"). It is here to facilitate
rapidly entering a series of similar Quick-Library entries.
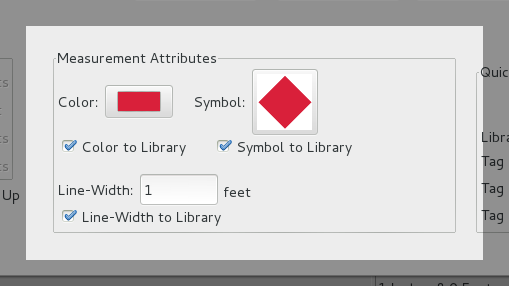
For example, if you need to enter several entries for calculating wall
areas and the only difference between them is the wall height, you can
enter the shortest one, press "Save to Library" and then change the wall
height in the Multiplier and in the Description, to the next height and
repeat until done (an advanced feature is Variables which avoids multiple
entries like this). And if you were entering a set of pipe Item entries,
where the only difference was the Code, the pipe diameter in the
Description, and the Color, you could work down your list and enter them.
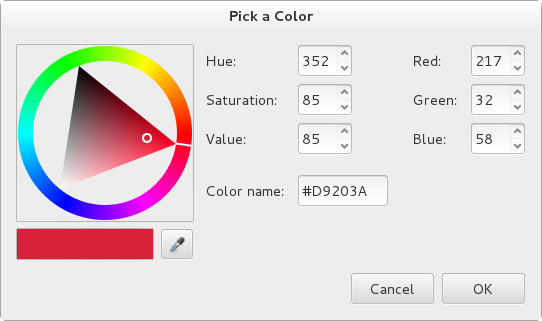
-Color:
Pressing the Color button opens the "Pick a Color" dialog. Here you select
a new color using the standard dialog on your computer.
-Symbol:
You also have the ability to change the symbol for the count items.
Just press the symbol to open the Select symbol dialog.
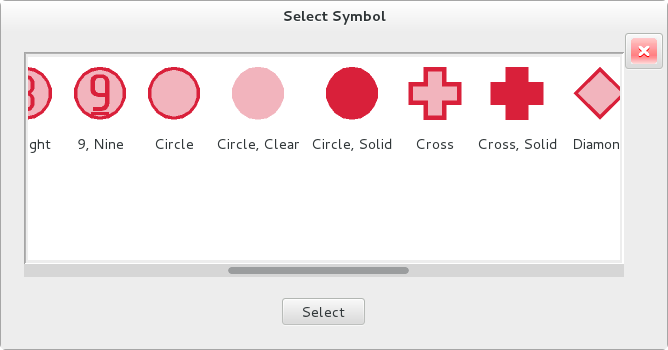
The Quick-Library options dialog is where you turn on different symbol
collection libraries to control your choices here.
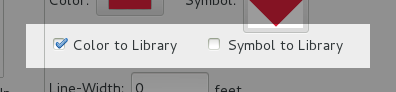
The checkboxes below the color and symbol icons control whether or
not the current settings will be saved with the Quick-Library entry.
"Item Creator" is the core of the creation of priceable Quantity Items
which will be exported from
QuickEye. A good understanding
of how it works and what it can do is recommended. Also, please see the
QuickEye
Measuring and Estimating Overview help topic, for a discussion on
the importance of, and recommendations on, using Codes.
Also, reading the
Quick-Library help topic is recommended, before starting to add
entries to your Quick-Library. A little planning and understanding of how
it works before you start building your Quick-Library, will make it very
effective.
-Line-Width:
The last component of the Create Item dialog is the Line-Width function.
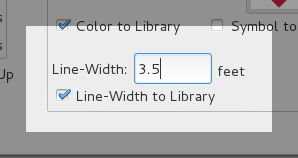
This function is an important accelerator for creating Area measurements
from Lines. A practical use of this is for sidewalks. Set the width of
the sidewalk, draw the line down center for it's entire length, and now
you have the surface area which can be changed to cubic volume of
concrete, as well as the length of the forms (when multiplying
by two). Here you can also save this to your Quick-Library.
Other examples for using Line-Width is tracing pipes or laying out
flooring material which comes from rolls.
Tags:
Along with these parameters, you can also set the Quick-Library Tags when
you save the entries as you make them.
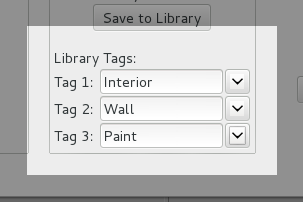
These Tags help keep your Library organized and makes finding the items
you need easy. The Library Tag fields are category tags which are used to
organize and filter the display of entries in the Quick-Library. You can
leave these blank to start, they are easy to change later. See the
Quick-Library help
topic for a full description.
To add new tags, simply type what you want in the correct box. You can
also use the drop down menu to select Tags you have used previously.
 Dialog purpose:


