- Review and copy all the Quantity Items
Quick Tips:
- Review all Quantity Items in current Document Volume.
- Select an item and press Edit Measurement button to load
the Sheet and open the Item's Measurement Group in Item Creator.
- Use the Combine Items radio box to sum items together by Code, or
Code and Description, etc.
- Use the Sort function to make finding your items easier.
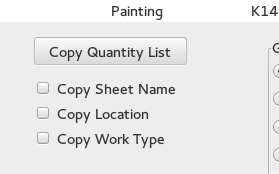
- Press Copy Quantity List button to copy: Code,
Description, Quantity and Units to clipboard.
- Include extra information in Copy Quantity List with the checkboxes below it.
- Select one Item and press the Copy Single button to copy a single Quantity
to the clipboard.
Detailed Instructions:
Open the Item Summary dialog by pressing the Item Summary icon in
the main toolbar.
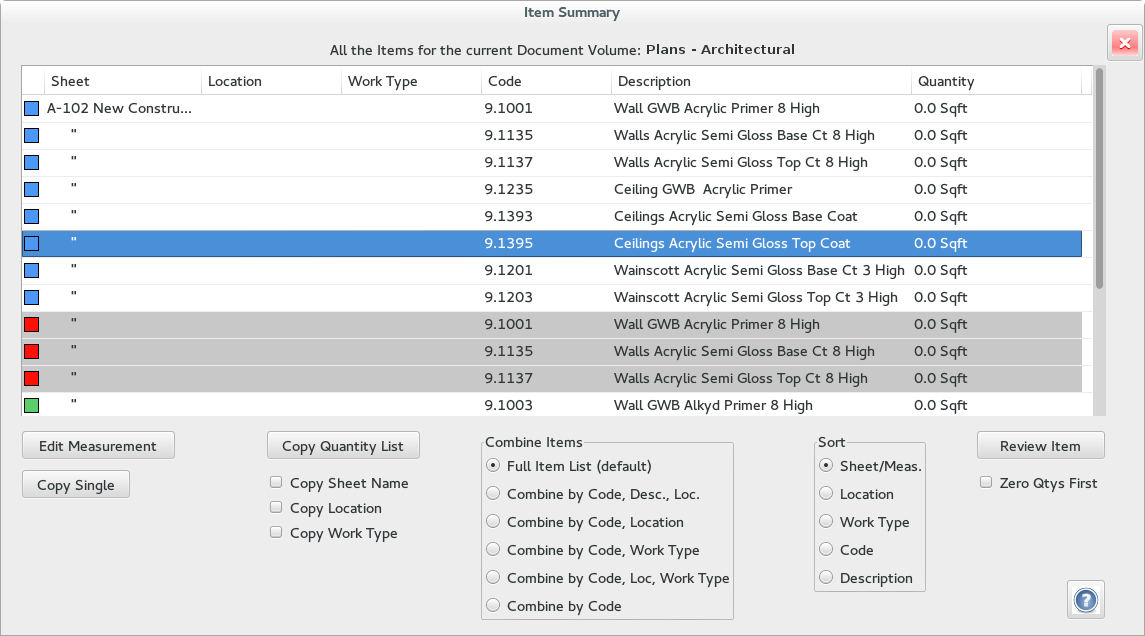
The Item Summary displays all the Quantity Items in current Document Volume.
The main information consist of Code, Description and the Quantities.
Also indicated is the color and symbol for each Measurement Group, as well
as the Sheet, Location and Work Type for each.
And it has alternating white and gray background colors to indicate which
items are part of the same measurement group (related items or items in an
Assembly).
By selecting one Quantity Item and pressing Edit Measurement (or
double-clicking the Item), you can close Item Summary, load the correct Sheet,
and open Item Creator, set to the correct Measurement Group.
Combine Items:
Organizing the Item summary can be done by Combining like items or sorting.
You can Combine by Code, or Code, Description, and Location, etc.
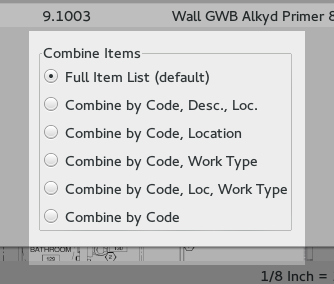
Combine by Code will merge all items into one when the Code matches, regardless
of the other differences in the Items. Combine by "Code, Work Type", will
combine Items only when the Code and the Work Type match. And the other
choices work the same.
The Sort function allows you to sort by sheet and measurement, Location,
Work Type, Code or Description.
When you are finished preparing the Item Summary, it can be copied all at
once with the Copy Quantity List button. This will copy the list to the
clipboard so you can paste the list in a spreadsheet or an email. To
include Sheet Name, Location or Work Type in the clipboard transfer,
just check the corresponding checkboxs before pressing copy. You also have
the option of copying the Production Rates of you have that feature enabled.
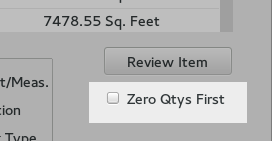
Sometimes Items with zero quantities are accidentally created. The Zero Quantites
First checkbox will move them to the top of the list.
This allows you to clean up items that were added to the project, but had
no measurements added to them. By moving them to the top of the list,
you can determine if you need to add measurements or remove them.
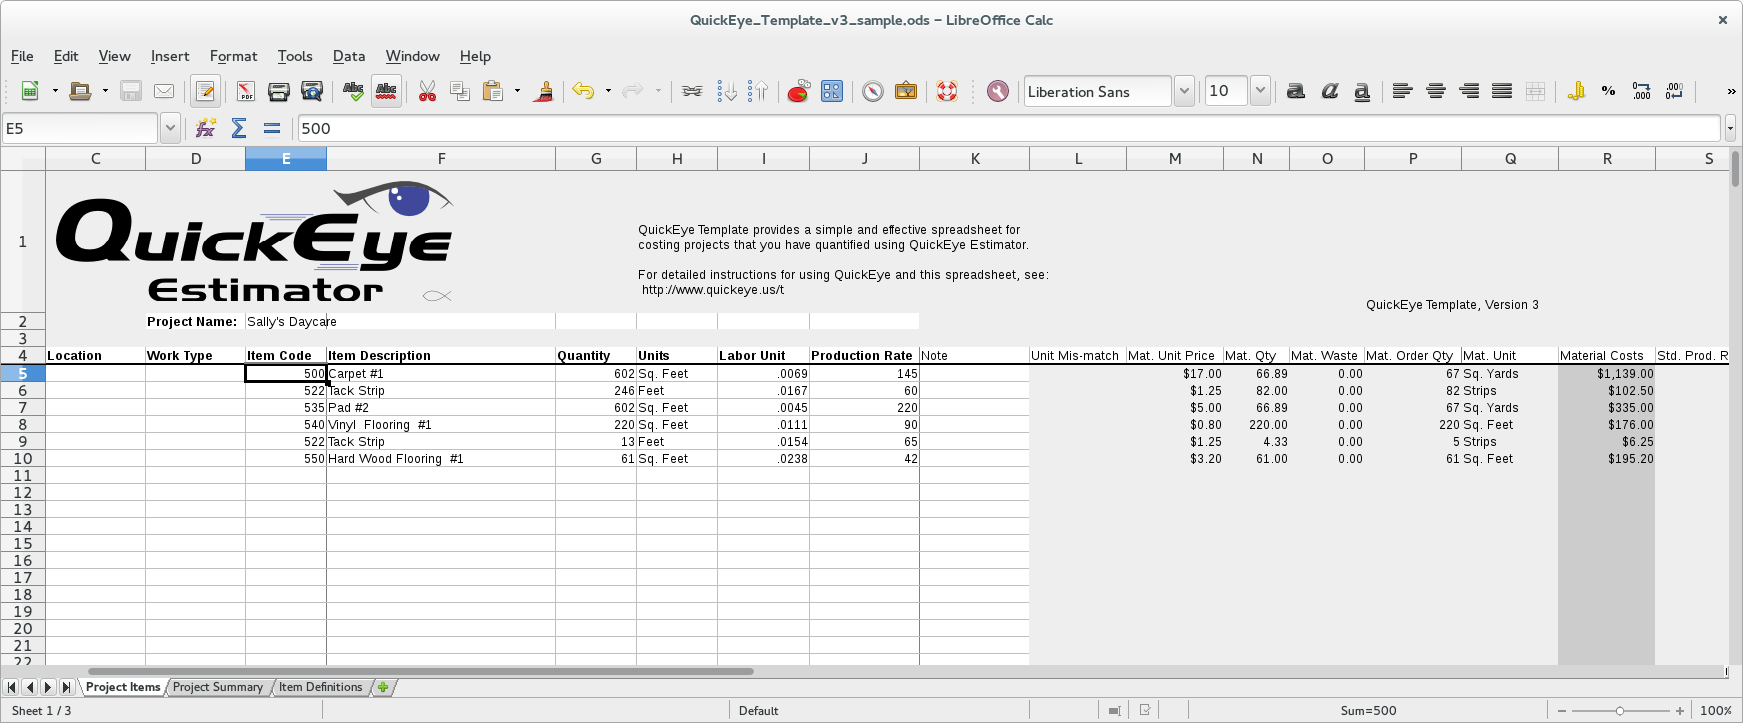
Transferring Your Item Summary:
Once you are done with your bid in
QuickEye, the resulting
quantity items can be semi-automatically priced out with a custom spreadsheet
or database program.
QuickEye provides a basic example of how a
spreadsheet can be used for handling the quantities produced by Estimator.
There are many costing database software programs to choose from which can
price out a project. There are currently two programs which are
QuickEye
integrated so they can process the Item Summary directly. They are EasyEst
from
CSC Software and 360 Difference
from
Paradigm.
To get the item list copied out of the Item Summary and into any of these
three systems, start by pressing the Copy Quantity List button. If you
would like the Sheet Name, Location, and/or Work Type to be included
with the items, select the checkboxes underneath the Copy Quantity List
button.
The other option for transferring quantities, is to copy a single value at a time. While
time consuming, it allows you to transfer into any spreadsheet or costing system. Select
the correct item, and then press the Copy Single button, and then paste it where you need
to in your spreadsheet or database.
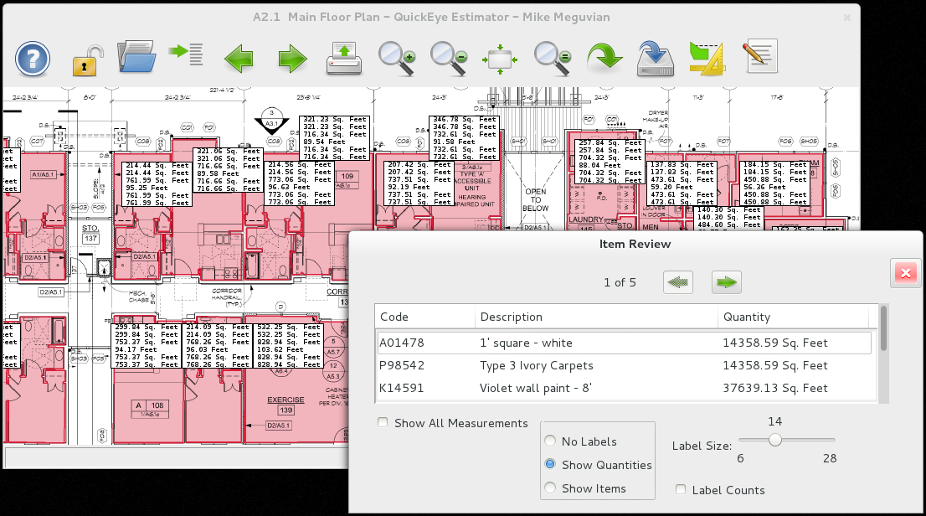
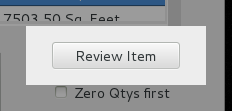
 Item Review:
A great feature of
QuickEye Estimator is the ability to
double-check your work or the work of others. One great tool for doing
this is utilizing our Item Review tool. First select an Item from the
list, then press the Review Item button, on the bottom-right corner of
the dialog.
This will do two things at once: open the Item Review dialog, and insert
tags above each measurement displaying its quantity.
From here you can advance through the measurements, show all at once,
review the labels, or hide them. As an expert in your field, the numbers
will make sense to you. This is a way to see individual quantities, check
the layout of the items and check for errors. It allows you to see only
one item at a time too look at your bid from a different perspective.
When this dialog is up, you have the option of exporting a pdf or printing
the sheet with the selected measurement and displayed labels included. This
could be used to make shop drawings of a design.
 Dialog purpose: