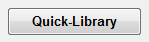
- Use your Quick-Library
- Organize your Quick-Library
Quick Tips:
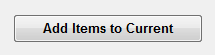
- Select an entry and press "Add Items to Current"
- Select several entries for the same item and press "Add Items to Current"
- If the selection includes more than one color, you will need to select one
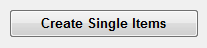
- Select several entries for separate single items and press "Create Single Items"
- Each of these must have zero or one color
- Select multiple entries and press "Edit Tags" to organize your Quick-Library
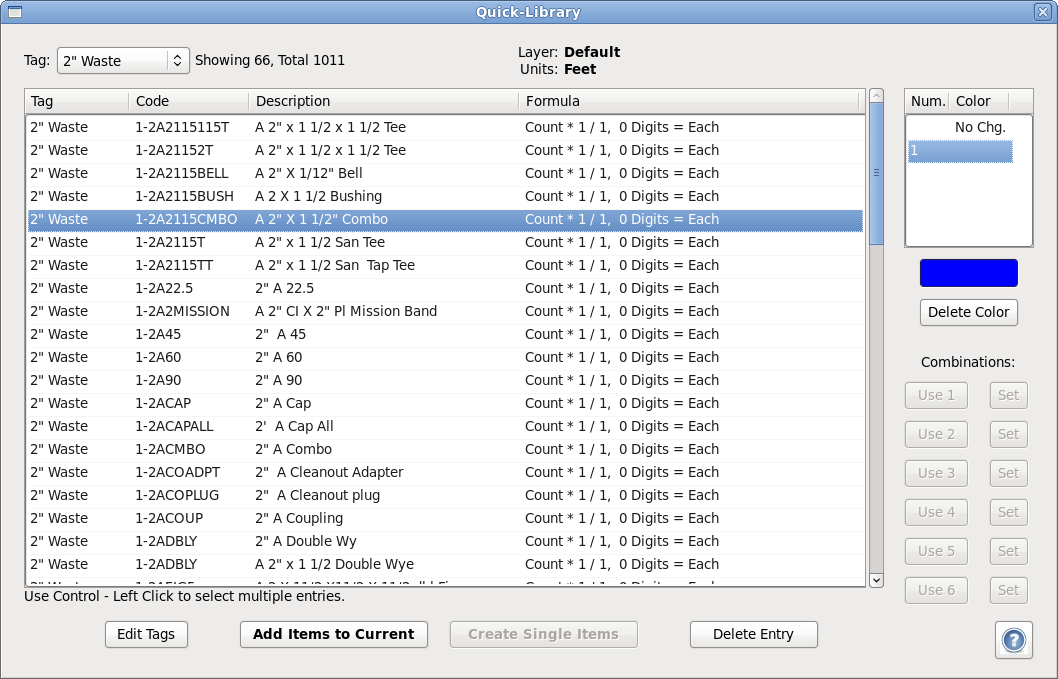
- Use Tag menu to display a subset of the entries
Detailed Instructions:
You open the Quick-Library dialog with the Quick-Library button in the "Item Creator" dialog.
You add entries to your Quick-Library from the
"Create Item" dialog (also opened from
"Item Creator").
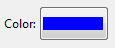
Each Quick-Library entry may contain zero, one or more, attached colors. If
the selected entry contains only one color, then it will be selected by
default (so you don't have take the time to decide and select one).
You can select one entry and add it to the Current Measurement group with
the "Add Items to Current" button.
Or you may select several Quick-Library entries, which belong together on one
Measurement Group and add them (with the same button).
If you add several entries together and they all have the same color attached
to them, you will not need to select a color.
If there is a primary item with a color and some detail items without a color
then you will also not need to select a color (since the total number of
choices is one). This method allows the detail items to be used along with
various primary items without causing the color choice to be needed.
If either of these methods fits your needs, the using the Quick-Library is even
faster.
If, on the other hand, your use of color is dictated by something else other
than a primary item, you can leave several choices and choose one every time
or you may leave no colors in your Quick-Library and manually specify color
from the "Item Creator" dialog.
To add a color with a new library entry, there is a "Save Attributes to Library"
checkbox in the "Create Item" dialog which controls whether or not the color is
attached.

If you add two entries to the Quick-Library and the only difference between them
is the color, instead of creating a second entry, the new color will be attached
to the first entry. You may also delete an attached color at any time from the
Quick-Library dialog.
You may select several entries for separate single items and press "Create Single Items".
This may be performed at the start of a bid when you know that you need
multiple measurements or counts, each with a single Quantity Item. Start with
a new (empty) Measurement Group and open the "Quick-Library" dialog. When you
press "Create Single Items", the first selected entry will be added to the
Current Measurement and each of the others will be added to new Measurement
Groups.
Once your Quick-Library is fairly complete, this method is a very quick way to
rough out your estimate by creating all the Measurement Groups you will need,
setting the color and creating the primary item in each one.
If any of the Measurement Groups need secondary Quantity Items, you may navigate
to that group (with the Prior and Next buttons in "Item Creator") and return to
the Quick-Library dialog to add the secondary entries with the "Add Items to
Current" button.
When you use the "Create Single Items" button, each entry may have different
colors attached to them because they are all being added to different Measurement
Groups. If, however, any of the selected entries have more than one color, the
"Create Single Items" button will be disabled since there's no way for you to
specify which color you need for that one Measurement Group.
For organizing a large Quick-Library, you can use the category Tag feature. A
Tag is just a short text value which appears in the left column. When all the
Quick-Library entries are being displayed, they are first sorted by the Tag
and then by Code and Description. So the first use of this feature is to
create logical groups for sorting the full list.
There is also a pulldown menu at the top left which allows you to narrow down
the list to just the entries which have the selected Tag value. That way, the
list is much shorter and easier to work with.

To use the category Tag feature, first the Tag values need to be set on some or
all of your Quick-Library entries. They can be entered as they are being created
from the "Create Item" dialog.

Or they can be set or changed later from the Quick-Library dialog. To edit them
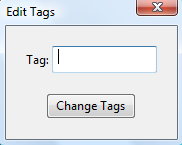
later, first select multiple entries and press the "Edit Tags" button.
Then enter or change the value and press the "Change Tags" button. This will
apply the new value to all the entries selected. You may then select another
group and repeat as needed.
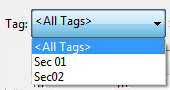
After the Tags are set, you may click on the Tag filter menu at the top left,
and select one Tag value to display. This filter will stay in effect until you
change it (even after exiting
QuickEye Estimator and returning). You can
restore the display of all the Quick-Library entries by selecting the top
choice: "All Tags".
Another aspect of the Quick-Library that is important to understand, is that
to apply the modifier transformations to Raw Quantites and have the Output
Units be accurate and meaningful, it is critical that the input units of the
Raw Quantities be consistent. Therefore, anytime you open the Quick-Library
dialog, it will display all the Count entries (which have input units: "Each"),
and the other entries with input units that match the units of the current
sheet scale setting.
For example if you do some estimates with Imperial units, and other in Metric
units, you may end up creating two different Quick-Library sets of entries.
Also, if you never create an estimate with Inches as the set unit, but you
accidentally leave the scale set to inches as you begin a project, then, when
you open the Quick-Library dialog, you will only see the Count entries (assuming
than you have no entries with units in Inches). The same issue comes into play
if the units don't match for any reason. For example if you build your
Quick-Library with Feet and you set the scale to Foot by accident.
The units of the current sheet scale setting are displayed near the top center
of the dialog. If you ever open the Quick-Library dialog and are surprised by
missing entries, look there first and double check your scale.

 Dialog purpose:
