Dialog purpose:
- Create and edit projects to hold documents
- Check out projects for use
- Share projects with others
Quick Tips:
- Select the project you want to work with, and press the "Check Out" button.
- To switch to a different project, press the "Check In" button.
- Create a new project to hold documents so you can work with them.
- Edit, Delete or Export an existing project.
- Re-create (import) a project that was exported from another computer.
- View projects from anywhere by saving it to the QuickEye Server, via the Edit button.
- Categorize, Sort and filter the project list to keep it organized and usable.
- Share projects for collaboration with other QuickEye users, as well as with individuals
who don't have an account.
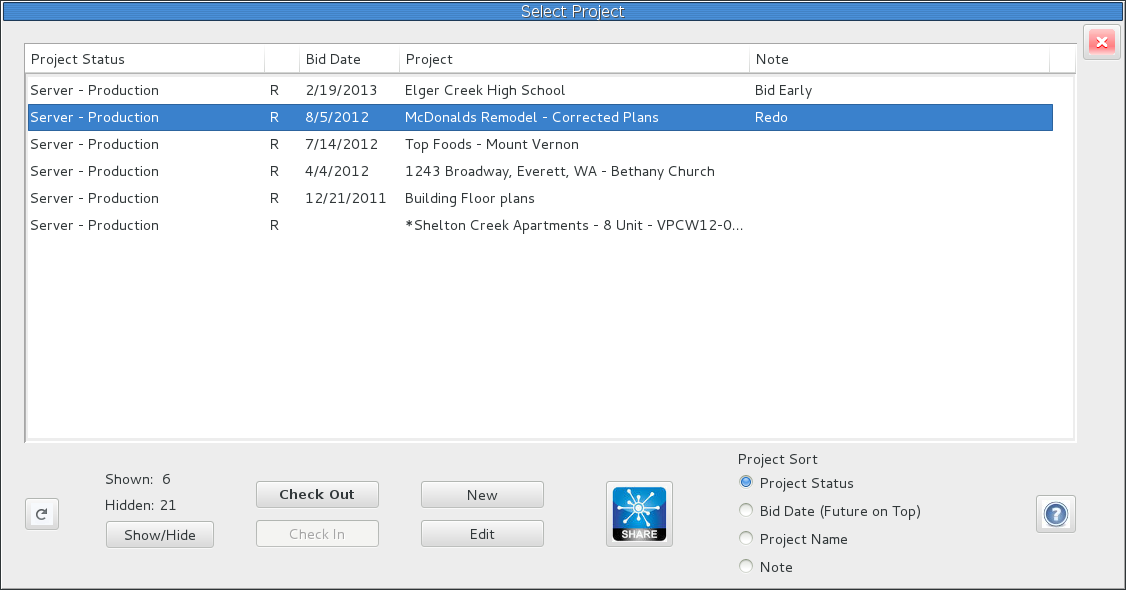
Detailed Instructions:
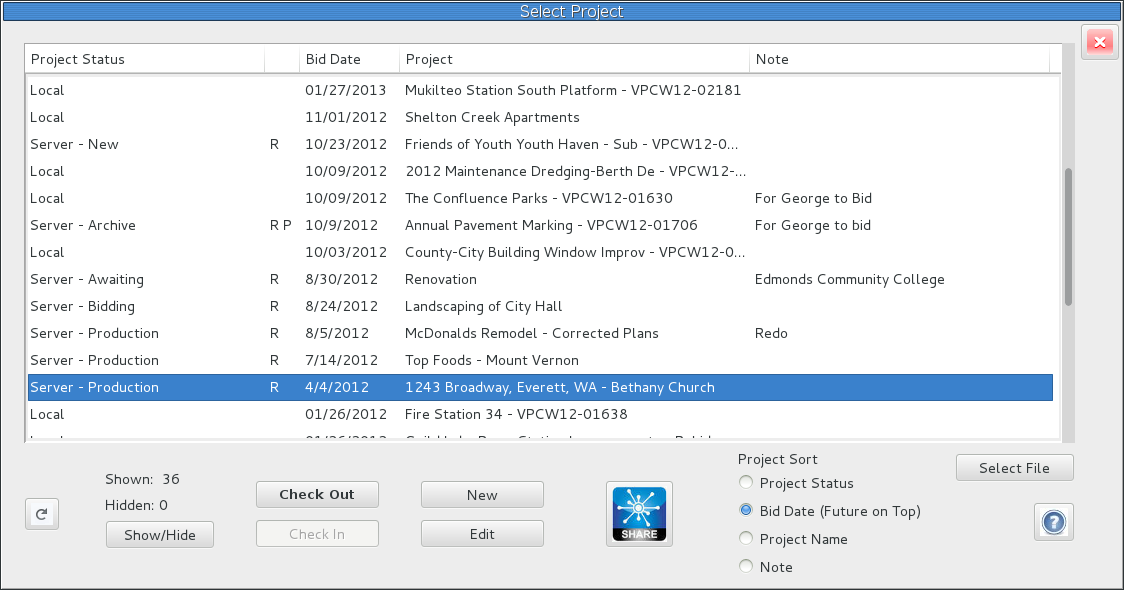
The "Select Project" dialog will automatically open when you run
QuickEye and log-in.
You can return to it by choosing the "Select Project" icon from the main window toolbar.
Checking Out Projects:
To check out a project, first, select it from the list, then press the "Check Out" button at the bottom.
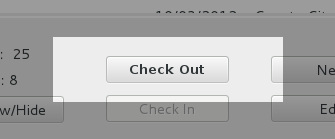
Checking out the project is when your User License becomes 'in use', and if the project is stored
on the server, it is locked from others to edit until it's checked back in.
Next, the
"Select Sheet" dialog will open so you can import document files and work with them.
To view a project other than one which you are currently viewing or working with, simply
come back to the "Select Project" dialog (from "Select Project" icon), and the "Check In"
button will be the only option available.
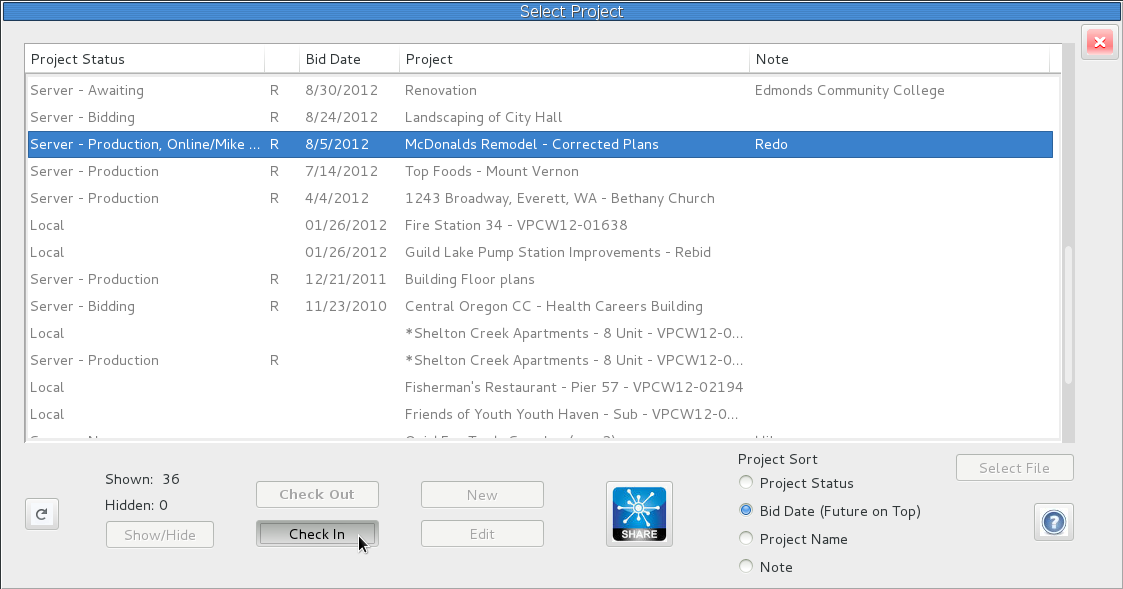
Press the "Check In" button. Now you are ready to view another project or perform a different operation.
New Project:
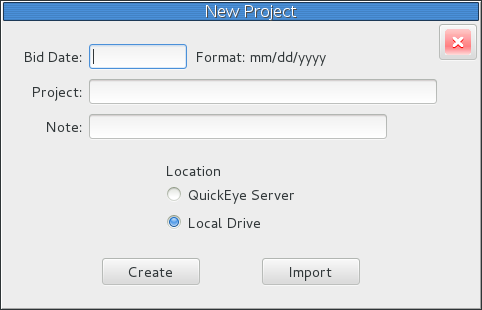
To create a new project to hold project documents so you can work with them, press
the New button at the bottom. Now the "New Project" dialog will open so you can enter: Bid Date, Project Title
and a Note. (A Project Title is required, Bid Date and Note are optional).
 QuickEye Server:
The other choice is the storage Location of the project. Selecting
QuickEye
Server for the storage location will cause the new documents to be queued up and uploaded
in the background while you work, to place the files on the
QuickEye Server
in your companies account. You may immediately start working with the documents from the
same computer you are uploading from. After the documents are done uploading, the project
can be accessed from any computer, by any of the users in your company.
The other huge benefit of storing the project on the server is that it allows all the
sharing and remote access features to be used on the project. Any existing projects may
be copied to the server (covered below).
If you select Local Drive for Location, the project and all it's files and measurements
will be stored on the local computer in your profile data. After entering the information
in the New Project dialog, press the Create button on the bottom left.
The Import function will be covered below.
Editing:
When you need to edit the Bid Date, Project Title or Note of an existing project,
select it and press the Edit button from the bottom of the "Select Project" dialog.
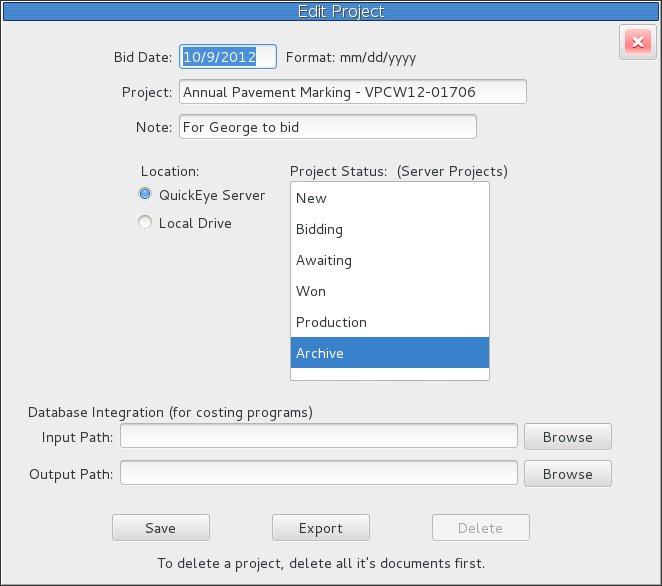
The "Edit Project" dialog will open so you can edit the Project information. Press
the Save button when you are done.
Whenever the project contains any documents (it is not totally empty), the Delete button will
be disabled. If you want to delete a project, first delete all the documents, from the
"Select Sheet" dialog, and then you will be able to delete
the project from the "Edit Project" dialog.
If you decide you want store an existing project on the server, select
QuickEye Server
from the Edit dialog. When you press save it will create a copy of the project on the server,
and queue up all the documents to be uploaded. The original project will remain on your local
computer in case something goes wrong or gets interrupted. An interrupted upload should
resume the next time you use
QuickEye.
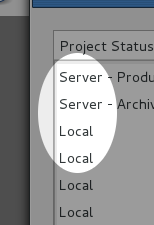
Project Status:
The Project Status is a setting for server projects to categorize them to keep your list
organized.
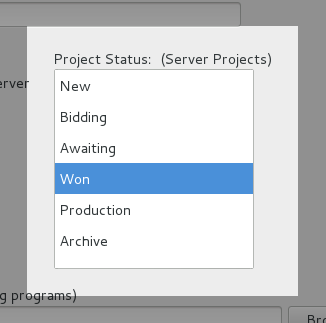
You can then sort by Project Status or select just certain projects to display.
The Project Status is also reflected in the lists of projects on the
QuickEye web site's
Account Options page, which can work with
QuickEye Review to allow viewing estimates on
mobile devices at the job site.
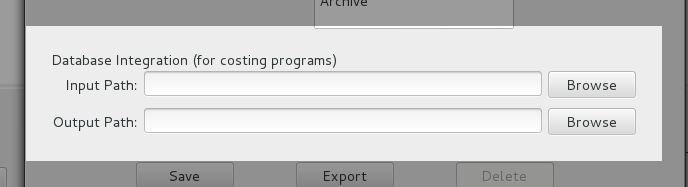
Database Integration:
The bottom section of the "Edit Project" dialog is a feature specifically for the integration of
costing system databases. The "Input Path" specifies where a data file is pulled from, and the
"Output Path" controls where the quantity items will be written.
Exporting:
To export a project, select the Export button from the bottom of the "Edit Project" dialog.

This will open a "Save As" dialog titled: "Select Export Project File, name and folder". This
is where you'll select an output folder and file name to save the export file. You may
use the default filename (which is based on the project title) or enter a different one.
The exported project will be saved in a single file with a .qep extension (which stands for
QuickEye Project). It contains all of the project information, documents and measurements.
These export files allow you to save backups or move projects to disk or to other computers.
Importing:
The Import button is on the New Project dialog:
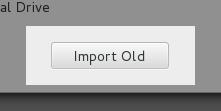
Any time you need to work with a project that has been saved to a .qep file (such as after
you've moved the file to a new computer), press the New button on the "Select Project" dialog
and then press the Import button.
A "Select File" dialog will open titled:
"Select QuickEye Project file to import". Browse to the drive and folder, and
select the .qep file then press the Open Button.
This will re-create the project just as it was when it was exported, with all the documents
and measurements.
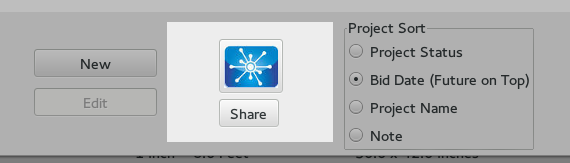
Project Sorting:
The Project Sort option (on the bottom right of the Select Project dialog) gives you
several choices as to how the list is displayed:
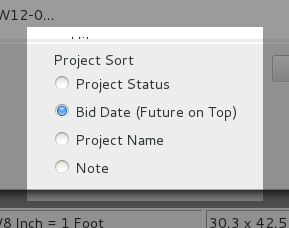
The sort option defaults to sorting by Bid Date, but can be changed to Project Status,
Project Name or Note. This allows you to group the projects by Status, or find a project
by name instead of just by bid date and makes the note field more powerful. The first
word in the note field can be the name of the assigned estimator or the name of the
client and by sorting on note you can quickly find the project you need.
Show/Hide Projects:
The Show/Hide button allows you to temporarily hide certain projects, press it to open the Show/Hide Projects dialog:
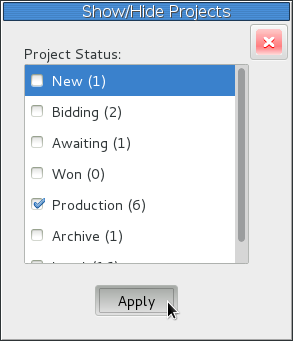
The check boxes allow you to hide or show all projects set to each specific
Project Status (changed in the Edit Project dialog). At the bottom of the list
is also a check to box to hide Local projects. Just check or uncheck each
checkbox and then press the apply button and the dialog will close and your
project list will update to reflect the new setting. Here's an example showing
only project which are in "Production":
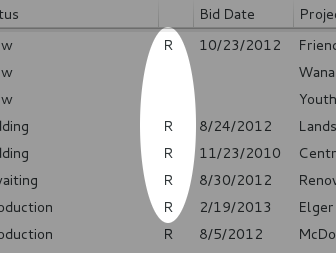
QuickEye Review:
Logging into
Account Options
on
QuickEye's web site allows you to open a list of projects which are set to
one Project Status. For example the list of projects with the status set to
Production. Also, any of these projects, which have
QuickEye Review turned on,
will be openable from there on any desktop or mobile computer. (QuickEye-Review
is controlled from the
Sharing dialog.
You can also email the url to open a project in
QuickEye Review from the Sharing dialog.)
The 'R' (just left of the Bid Date column) indicates that
QuickEye Review
is turned on.
 Refreshing:
The Refresh button is on the bottom left corner of the Select Project dialog:
Pressing it will re-fetch the list of projects so that the current status of
the Server projects are accurately displayed.
Project Sharing:
The Share button opens the
QuickEye Project Sharing
dialog:
From the Sharing dialog you control all the
QuickEye sharing mechanisms for
Server projects.