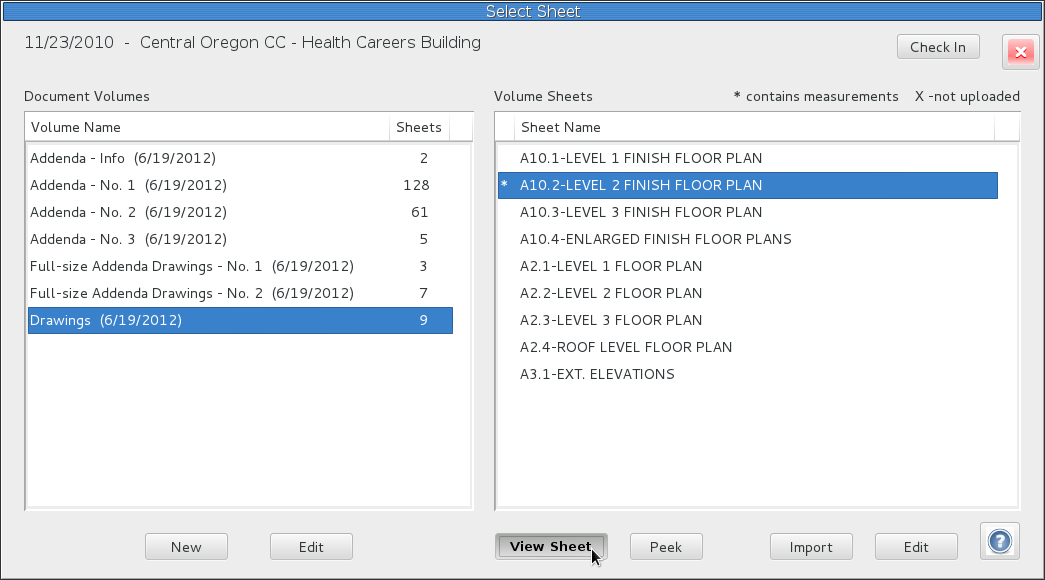
Double-click on a sheet to close the "Select Sheet" dialog and load that sheet for use
in the main window.
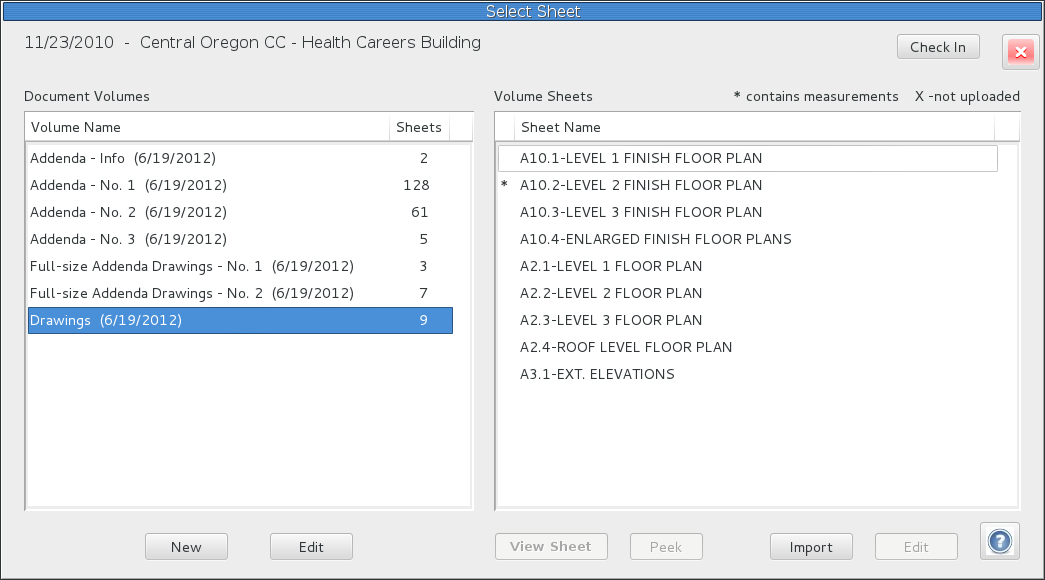
To quit working on a project and work with another, press the "Check In" button in the
upper right corner of the "Select Sheet" dialog. This will "Check In" the project and
return you to the "Select Project" dialog.
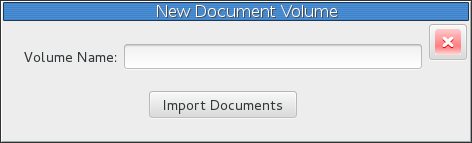
To create a new Document Volume, press the "New" button from the bottom left on the
"Select Sheet" dialog. In the "New Document Volume" dialog, fill in a name, and then
press the "Import Documents" button at the bottom. Now the select files dialog will
open so you can select the document files you need to import.
Similarly, you may append document sheets to an existing volume by pressing the
"Import Documents" button on the bottom right of the "Select Sheet" dialog.
QuickEye supports several image formats: TIFF (.tif), JPEG (.jpg) and PNG (.png).
And as long as
QuickEye Viewer is installed, you can also import PDF files (.pdf).
There will be some delay while importing PDF files because it immediately creates an image file
for each page in the PDF file.
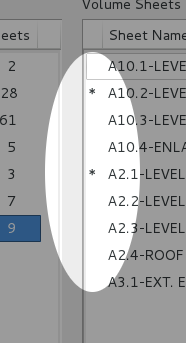
The key in the top right of the dialog is a reference for which sheets have measurements (*)
and those that haven't yet been uploaded (X).
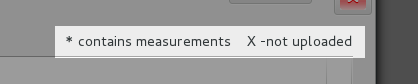
This gives quick reference for which sheets have mark-ups, and those that
still may need measurements added to them.
Once you have a Document Volume selected, clicking Edit on the left will open Edit Volume dialog.
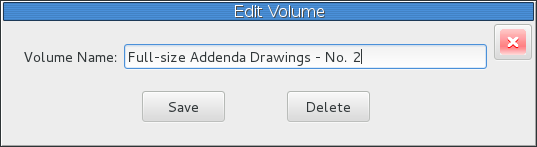
Here, you may edit the name of the Volume, or delete the entire volume, images
and all. All Volumes have to be deleted before you have the option of deleting
the project (from the Edit button on the
Select Project dialog).
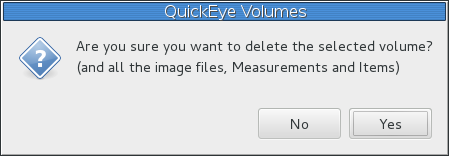
When deleting a volume, a verification dialog will open to confirm the operation.
Select Yes or No.
To edit a Sheet Name, select a single sheet on the right, and press the Edit
button below. The Edit Sheet dialog will open.
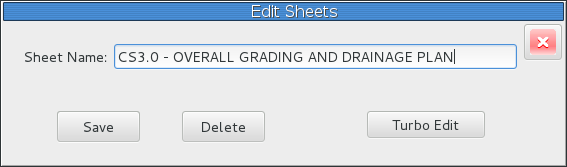
Here you can change the Sheet Name, or delete the sheet. To sequentially edit many
Sheet Names or rotate many sheets, use the
Turbo Edit function.
You may also delete multiple sheets at once by selecting them (click on the first,
then shift-click on the last to select a range) and then use the Edit and Delete buttons.
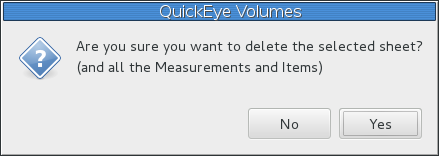
A verification dialog will open to confirm the operation. Select Yes or No.
The Peek button opens the selected Volume Sheet in a seperate window, so that you can
reference a second image while you estimate, such as a specification page, elevation
drawing or detail sheet.
It's call the "Peek" window because you can't create any markups on it, it's only for
reference. It does, however, support the Quick-Ruler. Just press Q on the keyboard to turn
it on or off.
This is especially useful when measuring a floorplan in the main window
and peeking at elevations to determine wall heights.
 Dialog purpose: