Dialog purpose:
- Activate and control QuickEye Project Sharing
Quick Tips:
- Q 2 Q (QuickEye to QuickEye) to instantly copy a project to a
different QuickEye account.
- Turn on QuickEye
Review for a project to make it web accessible, markups and all.
- Press Email Project to send the project, markups and all, to
collegues.
- Log into your account at www.quickeye.us/options.php
to access all QuickEye Review projects in your account.
- General Contractors may activate
Document Room
publishing when they purchase or renew a license.
- Use QuickEye Document Room to make an online list of all projects
that you need subcontractors to see.
- Use Private URL sharing to email access to a project (bare
drawings, no markups).
Detailed Instructions:
To access the benefits of sharing your projects, please save the project
to the QuickEye Server. This can be done through the Edit Project
button on the Select Project page, by changing the Location to QuickEye
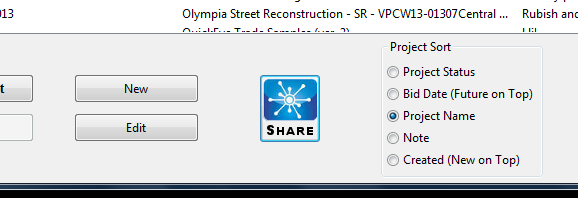
Server rather than Local Drive. Open the Share Project dialog, also
through the Select Project dialog, by pressing the Share button after
selecting the project of interest.
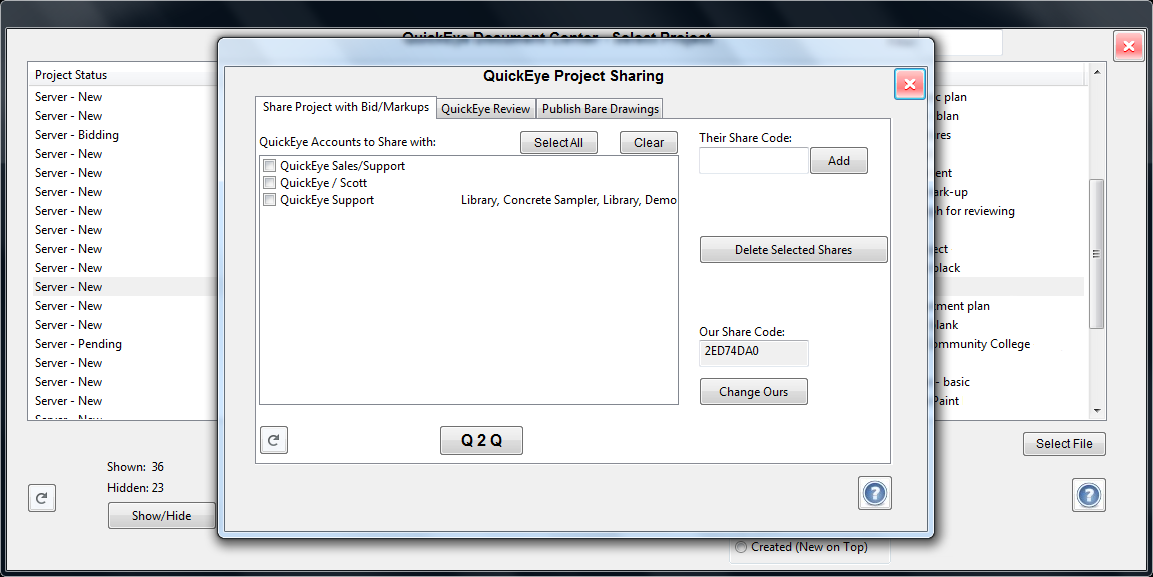
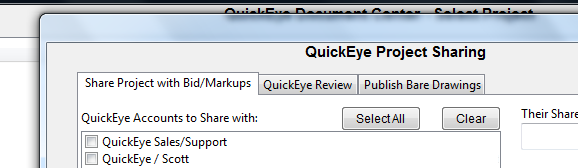
The dialog is separated by three different sections. Share Project with
Bid/Markups is for sharing projects straight into other QuickEye Accounts
by receiving theirs or sharing your Share Code. QuickEye Review is for
accessing your projects through the internet so that it can be seen by
those who don't have an Account. This can also be used to view the
project from your tablet or phone, or a different computer to which does
not yet have QuickEye installed yet. The Publish Bare Drawings tab has
functions useful to General Contractors or other publishers, such as
Document Room settings.
For clarification, because QuickEye Estimator is a login subscription
based product, rather than a pay-per-seat software. This means you can
install it on all the computers you may use it on, whether it be your
office or home desktop, or your laptop. Each will accept your login,
and you can work where you left off on every project. So long as you
have saved the projects to the QuickEye Server, rather than all be
saved on your local machine, you can access it from any of your
computers.
Share Project with Bid/Markups:
This tab contains the functions for sharing your projects so that they
will appear in the Select Project list of your peers' accounts. Their
company / name will appear in this list once a connection is established
between yours and their accounts. You can do this in two ways, either
you give them your share code, or you can get theirs, add it to the
Their Share Code box, and press Add. Once their name is on your list,
your's will appear on their list, and projects can be shared between the
two.

After you've finalized your selection of users to receive your project,
press Q 2 Q, and the projects will appear in their index. To be specific,
you are copying your project and pasting it into their list, as it will
have all the markups as yours. However they will now have ownership of the
copy you Q 2 Q to them, and they will be able to modify it as their own.
You can select each destination individually by clicking the checkbox
next to each one, or all at once by pressing Select All. Press Clear to
deselect all on the list. You will notice that QuickEye Sales/Support
can only be selected manually. This eliminates the need to deselect it
each time after pressing Select All if you frequently send to all your
peers since you will not usually send projects to our
Support Staff; but you are welcome to if ever you run into issues.
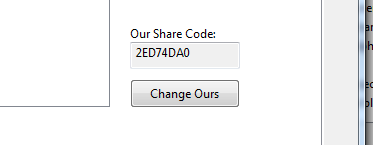
Each account has a unique Share Code, specified here. If you would like
to change it, you press Change Ours. A QuickEye Sharing
dialog will appear and pressing Yes will give you another unique Share
Code assigned to your company. There is no need to change your share
code unless it is published and you no longer what it public, or similar
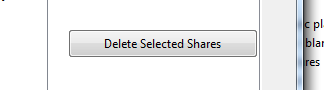
reasons. If you want to clean up your list, you can Delete Selected
Shares after selecting them in your list, if you are no longer working
with those companies.
 QuickEye Review:
The tab enables the QuickEye Review function which allows for the viewing
of projects through a web browser. The URL can be sent to anyone with no
login needed to view it. This gives you the ability to share your markups
with those who do not have a QuickEye account or to view on a smartphone
or tablet. The only limitation of QuickEye Review is that you cannot edit
the markups, only view and inspect them.
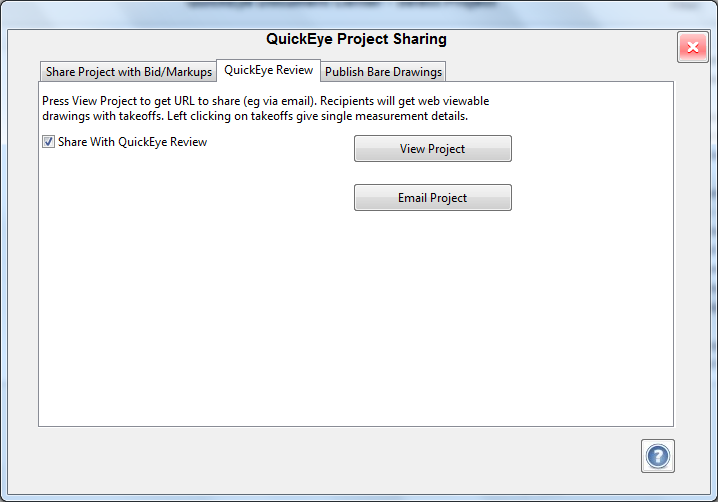
Once the Share With QuickEye Review checkbox is selected, then this server
project can be viewed online, as well as having the ability to send the
URL directly to your peers via email. For information on using this feature
please visit the
QuickEye Review dialog page.
Publish Bare Drawings:
This is for sending projects to someone that doesn't need to see (or you
would rather not share) they markups or annotations on them. This works
a lot like QuickEye Review, they can view the plan, but won't be able to
modify your copy of it.
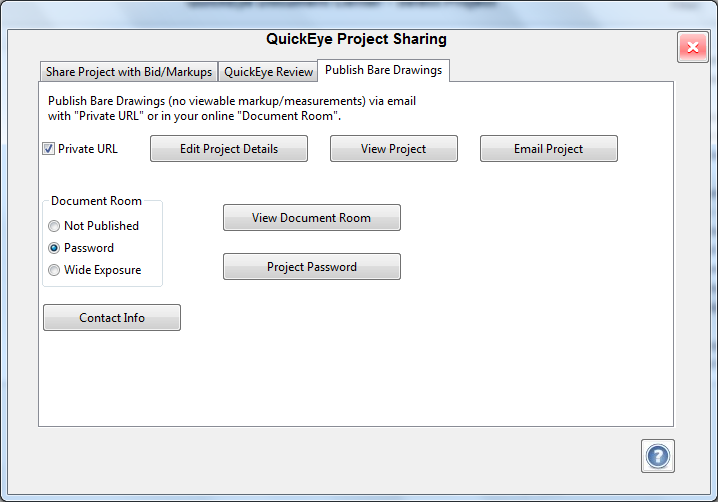
To turn this feature on, check the Private URL checkbox. Then you can
View the Project or Email it to anyone that needs to see it. If at any
point you don't want this project seen by others you have shared it
with, just uncheck the box. The URL that has been share will no longer
be active.
If there are any details you would like to add, you can do so by pressing
the Edit Project Details button. This will open a dialog where you can
add them. This information will be sent with the project and displayed
on the web page generated.
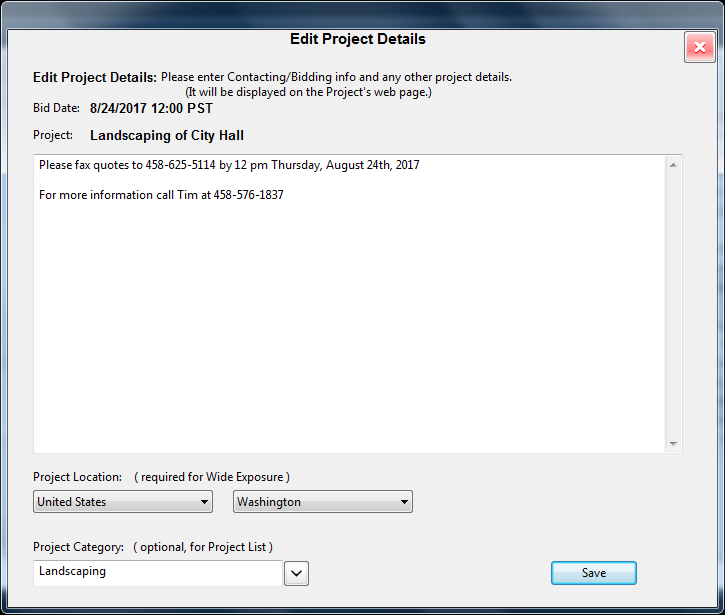
For General Contractors, this is also where you will edit the details to
be shown about that project when you publish it in your Document Room.
Now when you press the view Project button, it will open in your default
browser, with the Project Details displayed. Whoever receives the link
you send will be able to open it in QuickEye Estimator or in Lite. They
can install Estimator, even if they don't have a license, to view,
download, print, or make temporary measurements for free all from Basic
Mode.
Opening in Lite will do so right in the same browser, even from a
tablet or phone. This is limited in the way that it is view only, it
can't be used to generate mark-ups, only Estimator can do that.
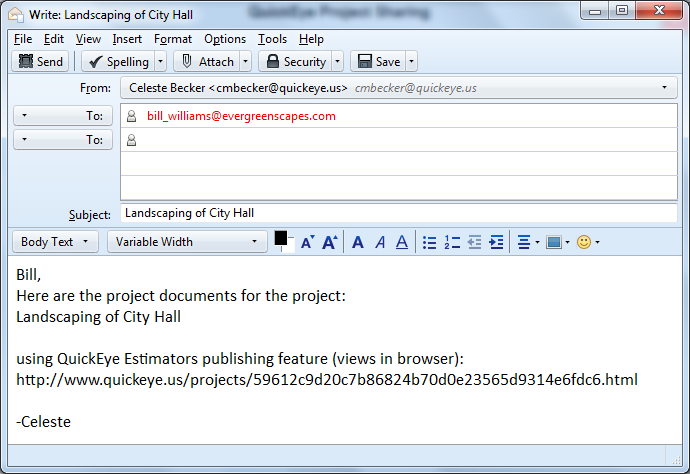
Pressing the Email Project button will open your native email client
with your Private URL contained. You will also have a default message
around the link containing the Project Title as well. Once you've added
the destination email and whatever text you'd like to add to the body,
it is ready to send.
The remaining options are for the Document Room features, which is
tailored for General Contractors. Please check out the
help page for more
information.